Essential Equipment and Supplies Guide for Launching Your Screen Printing Workshop
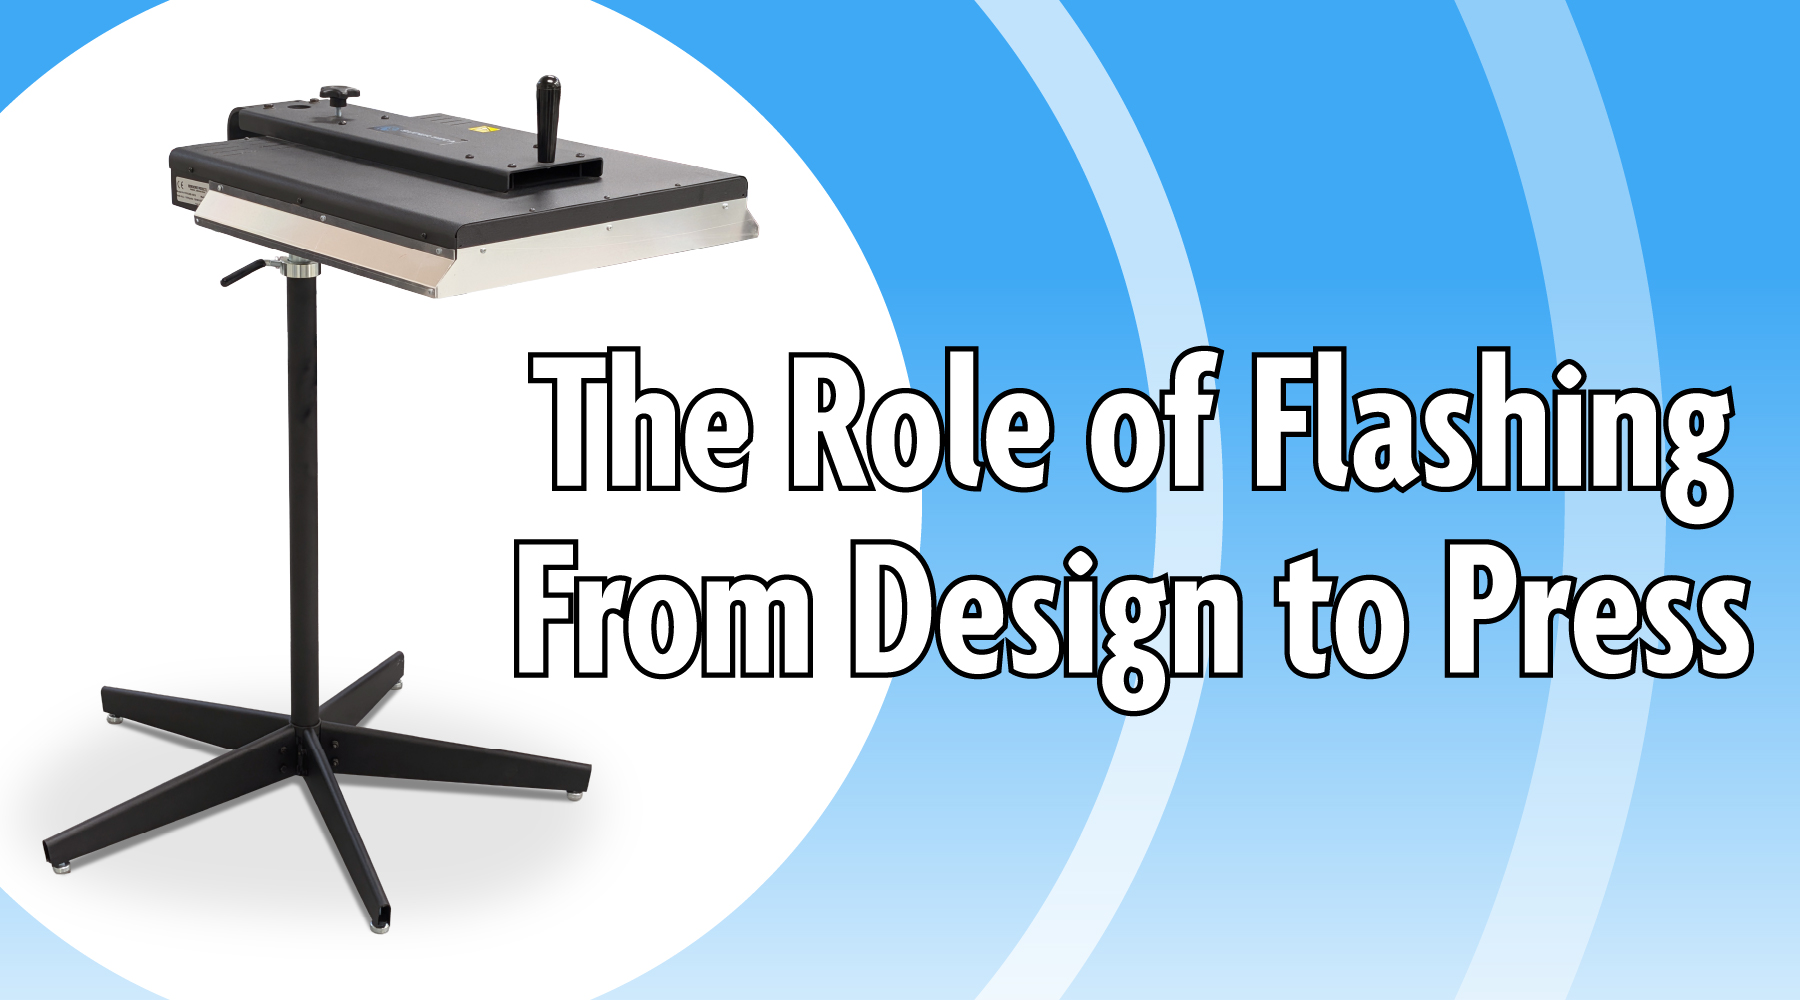
Embarking on a screen printing venture is an exciting step into a creative and rewarding field. Setting up your own operation requires careful planning and the right tools to ensure quality results from the start. This guide breaks down the key items you'll need, from core machinery to everyday essentials, helping you build a solid foundation for your printing setup. Manual Printing Press The heart of any screen printing setup is the manual press. There are numerous options available, varying in capabilities, features, and cost. Selecting the appropriate one depends on your production volume and design complexity. Beginners often opt for a simple, high-quality entry-level press to learn the fundamentals without overwhelming complexity. For those aiming to grow into a full business, a mid-range press or higher-end press offers more stations and better precision for multi-color jobs. Flashing Unit for Ink Gelling For multi-color prints, you'll need a way to partially dry (or "gel") ink layers before adding the next color. A basic heat gun can suffice initially, though achieving uniform heat is challenging. A dedicated flash dryer is recommended for consistent, even heating across the entire design. Newcomers frequently choose a compact flash dryer for its balance of affordability and performance. Curing Equipment Proper curing is crucial to make prints durable and wash-resistant. Many starters use their flash dryer for this purpose, which is cost-effective while honing skills. Be mindful of factors like ambient temperature, garment fabric, platen type, and ink properties—these influence curing time. A heat press provides more consistent results with precise temperature control. It's versatile, especially if you're also working with heat-transfer materials. For higher output, a conveyor dryer is ideal, processing multiple items continuously by adjusting belt speed and heat settings based on ink and substrate. Exposure System Exposing screens to create stencils demands a reliable exposure unit. Basic setups might use simple bulbs, but upgrading to a compact LED exposure unit or larger variant improves results significantly. LED technology offers longer lifespan, lower energy use, and sharper stencil detail. Tip: Always expose screens in a completely light-safe environment to avoid unintended exposure. If budget is tight, some local services can expose screens for you. Screen Cleaning Area Cleaning screens—whether rinsing new exposures or reclaiming used ones—requires a dedicated space. A professional washout booth is the most efficient option, with built-in drainage and lighting. Alternatives include using a utility sink or outdoor area, but take precautions: filter drains to prevent clogs from ink and emulsion, and choose eco-friendly chemicals to minimize environmental impact. For outdoor rinsing, use light-proof bags to transport wet screens and low-pressure washing (under 1600 psi). Film Positive Printer Creating stencils starts with high-quality film positives. An inkjet film printer is standard, using coated transparency film for optimal ink hold and light-blocking (either UV-blocking or full-dye inks work well for details and halftones). Outsourcing to a nearby print shop is a viable temporary solution if purchasing a printer isn't feasible yet. Design and Separation Software Artwork preparation relies on professional tools: vector [...]